


How To Fit A Toilet
When buying a brand new toilet, a lot of people do not want to spend money on getting it done professionally, they would rather do a DIY job. If you’re confident enough to take on a DIY job of this magnitude, you need to make sure that you can connect it to an existing soil pipe. If you’re looking to add the toilet to a new place or a new room, you will need a professional.
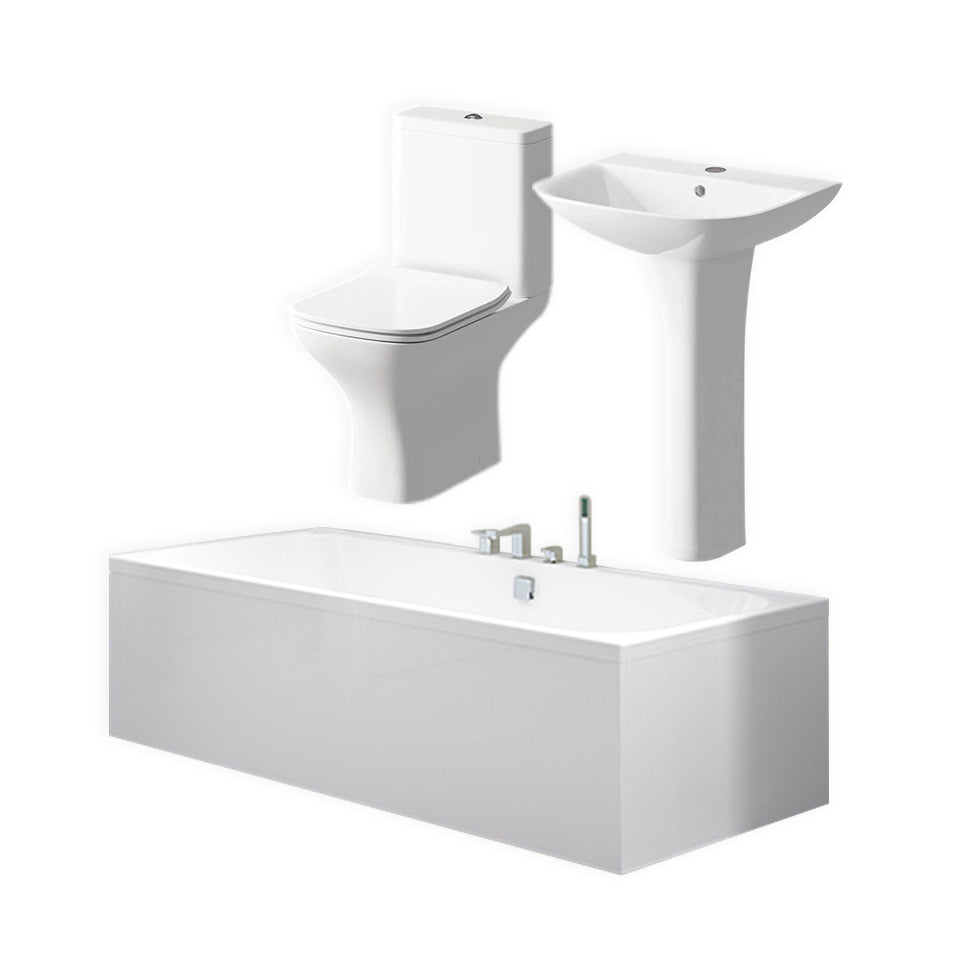
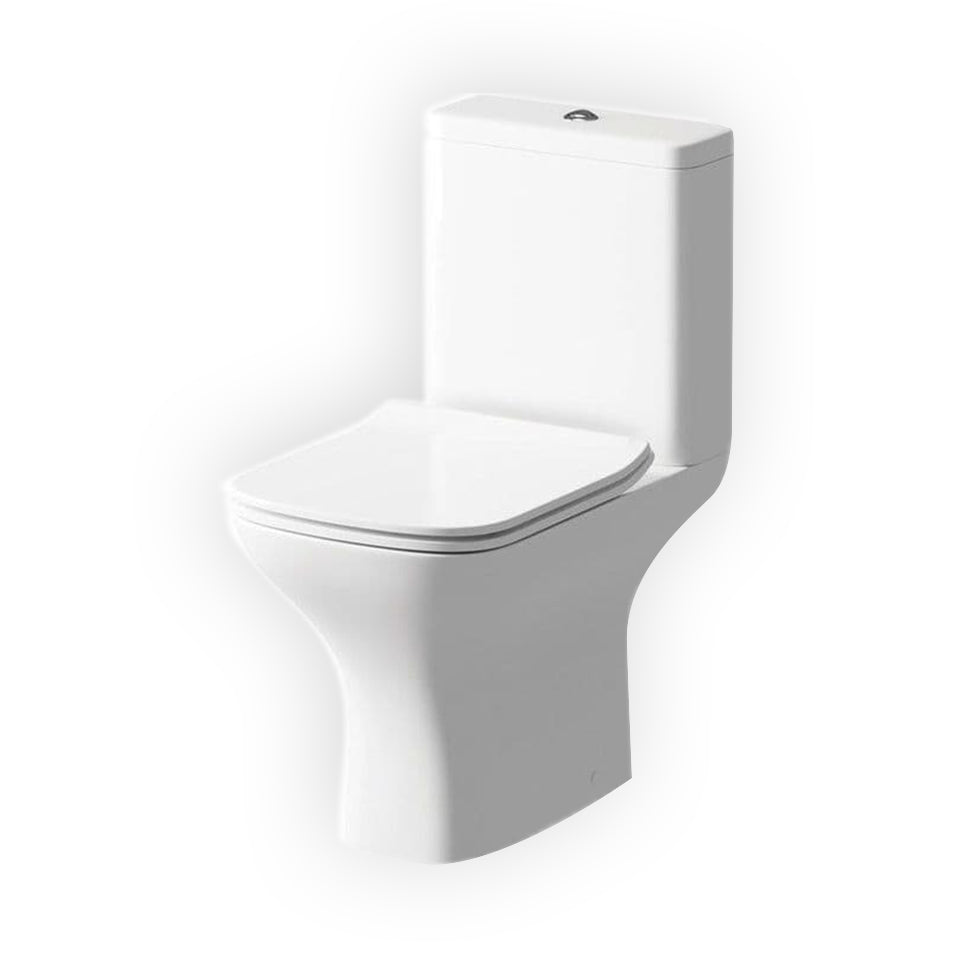
We will be doing this guide based off of the most popular toilet design, the close coupled toilet.
![]()
Product in this photo - Geberit Icon Close Coupled Cistern - £183
What is a close-coupled toilet?
The close coupled toilet is one of (if not) the most popular designs that you will see in peoples bathrooms, this is due to it’s smaller dimensions and it normally features a minimalistic design that fits flush in any bathroom. It’s called a close-coupled toilet due to the cistern being right above the pan.
Preparing for installation
Always get all of the parts out of the box and inspect every part before starting the job. This is because you do not want to find a fault with one of the parts midway through the installation, it’s better to be safe than sorry. You should always make sure that there are no pipes in the area that you will be drilling, this is a potential hazard and will definitely need to be checked by an electronic detector.
Installation by steps
Step 1
Looking at the manual that was packed in with the toilet, follow the manufacturer's instructions, assemble the toilet correctly and then insert the flush mechanism. You will need to make sure that you’re adding rubber seals wherever is necessary.
Step 2
Looking at the pan, there is a ring-shaped rubber object that is called a gasket. You will need to place this on the flush entrance on the pan, between the cistern and the bowl.
Step 3
You will now need to put the long fixing bolts through the pre-drilled holes in the cistern, making sure that you use the rubber/metal washers provided.
Step 4
Grab the cistern part and lift this up onto the toilet pan, so the connecting bolts slot into the retrospective holes. The threaded section of the flush mechanism should easily fit through the rubber gasket on the flush entrance of the pan.
Step 5
You now need to fix the washers and the wingnuts to the connecting bolts and tighten them. You will need to make sure that they are tight but not over-tightened.
Step 6
The next step is to put the toilet in the desired placement, keeping a note of dimensions, and connect the flexible pan connector to the soil pipe. You will then need to drill pilot holes into your flooring at the retrospective fixing points. If it’s solid flooring, you will need to plug them.
Step 7
You can now put the plastic protective inserts through the retrospective holes into the base, insert the retaining screws into the flooring. The cistern may have fixing holes in the back, you can fix this into the wall by drilling and then plugging. Add the washers before you tighten the nuts.
Step 8
You can now connect the cold water feed to the supply pipe using a push-fit tap connector.
Step 9
You can now move onto fitting the seat, you get more of a choice, you can either use the toilet seat provided or look at purchasing another one. A lot of people believe that wooden toilet seats look better on ceramic close-coupled toilets. You can look at our collection of toilet seats & covers and see if you want to buy one separately or use the default one in the kit.

Product in this photo - Burlington Wooden Toilet Seat - £60
Step 10
Connect the toilet seat to the toilet pan, securing through the holes at the back, you will need to use the screws provided by the toilet seat. You can adjust it to get a perfect position.
Not bought a toilet yet? Browse our full range of toilets at Unbeatable Bathrooms. We have a massive range, suitable for any budget and decor styles.