


How To Fit A Bath
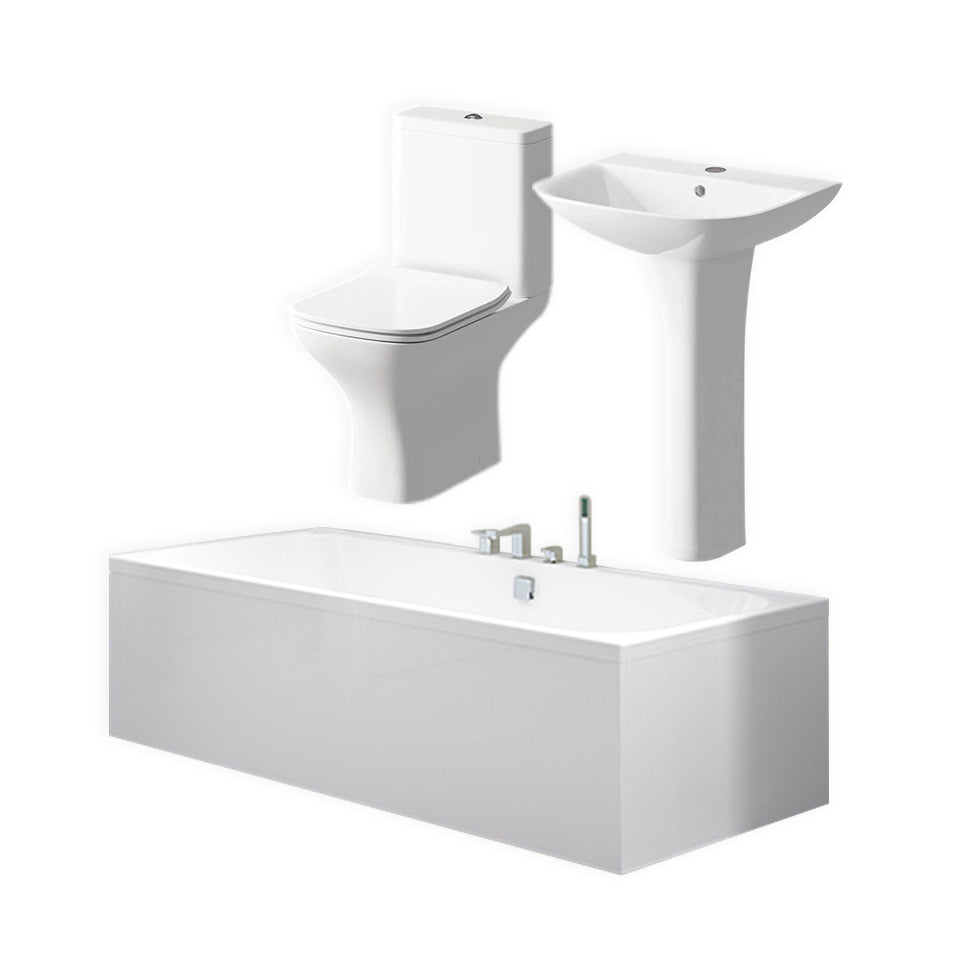
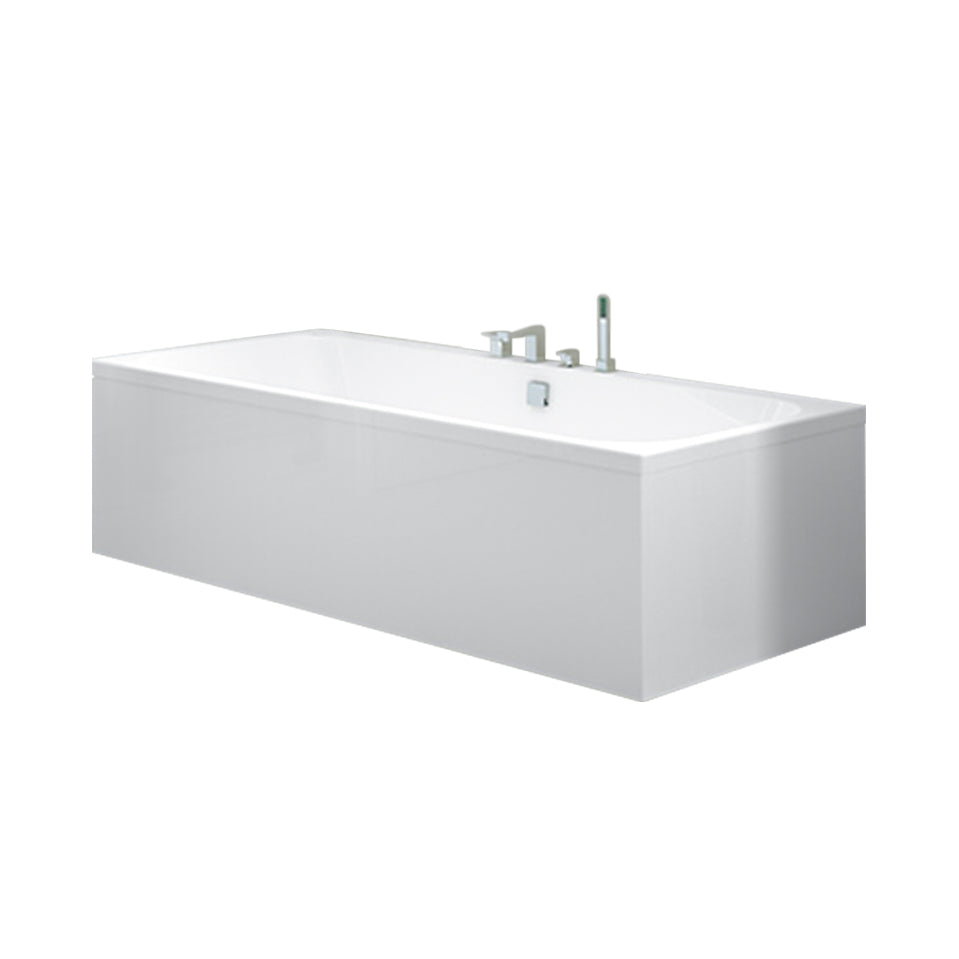
Purchasing your dream bath is a great feeling, right up until it arrives at your door and you’re not sure what to do with it! Fitting a bath is quite an easy task but not one that has been written about or simplified for people who are not experts.
We have created an easy-to-follow guide on how to fit a new bath. Follow the steps below to find out how:
Step 1 - Make sure to put your bath on a level surface, use a spirit level to double check. You can then remove the fittings box (normally attached underneath the bath) and check that you have all of the relevant components ready.
Step 2 - Remove the protective packaging on the bath.You should inspect your bath thoroughly, checking for any damage and if it is the correct colour/fit you ordered. Checking before you fit is essential as you will not be able to return the bath after installation is attempted.
Step 3 - If you have ordered a bath with handles, you should fit them now. Otherwise, continue to attach the provided bath legs to the brackets included with the bath. Now, attach the brackets to the underside of the bath and finish this step by attaching the main centre leg to the bath.
Step 4 - Roughly adjust the height of the legs to match your desired bath height using a tape measure.
Handy hint: Take a couple of wooden battens up to 60mm wide and stand the bath on these to help protect your floor. If laid on floorboards, these should be at 90 degrees to the joists.
Step 5 - You now need to adjust the height of the legs to match the bath height you desire, using a trusty tape measure.
Step 6 - Now, mark your chosen bath height on the wall with a pencil or other marker. Place the bath up against the wall. You will need to check that the bath is level, doing so by using a spirit level. Make adjustments to the legs if the bath is not level or not in line.
Step 7 - Following the instructions provided with your bath, attach the wall fixing brackets. You will also need to mark the overflow centre with a pencil. This is just above the overflow hole on top of the bath.
Step 8 - Measure the distance between the tap inlets and transfer this measurement to the bath top, just above the overflow hole, with a pencil.
Step 9 - You now need to mark your tap inlet measurements. You also need to measure the centre point of the bath lip and mark the point in pencil. This should form a cross point between the two separate measurements, showing you the centre point for your tap holes.
Step 10 - Drill holes for your tap inlets, we recommend that you use an electric drill and a hole cutter, you will need to use each cross point marking as the centre point. You will now be able to fit your bath taps.
Step 11 - Fit the waste and overflow in place and make sure to keep a note of any movements or adjustments that will be needed to the waste pipe.
Step 12 - You can now position the bath in place, secure the bath to the wall and the floor.
Step 13 - We recommend getting a professional plumber to plumb in your taps, try at your own risk.
Step 14 - Turn the water supply back on at the mains. You will need to check for leaks, you can do this by closing the waste and running a bath.
Step 15 - You can now tile down to the bath and seal around the edges of the bath with any high-end silicone sealant.
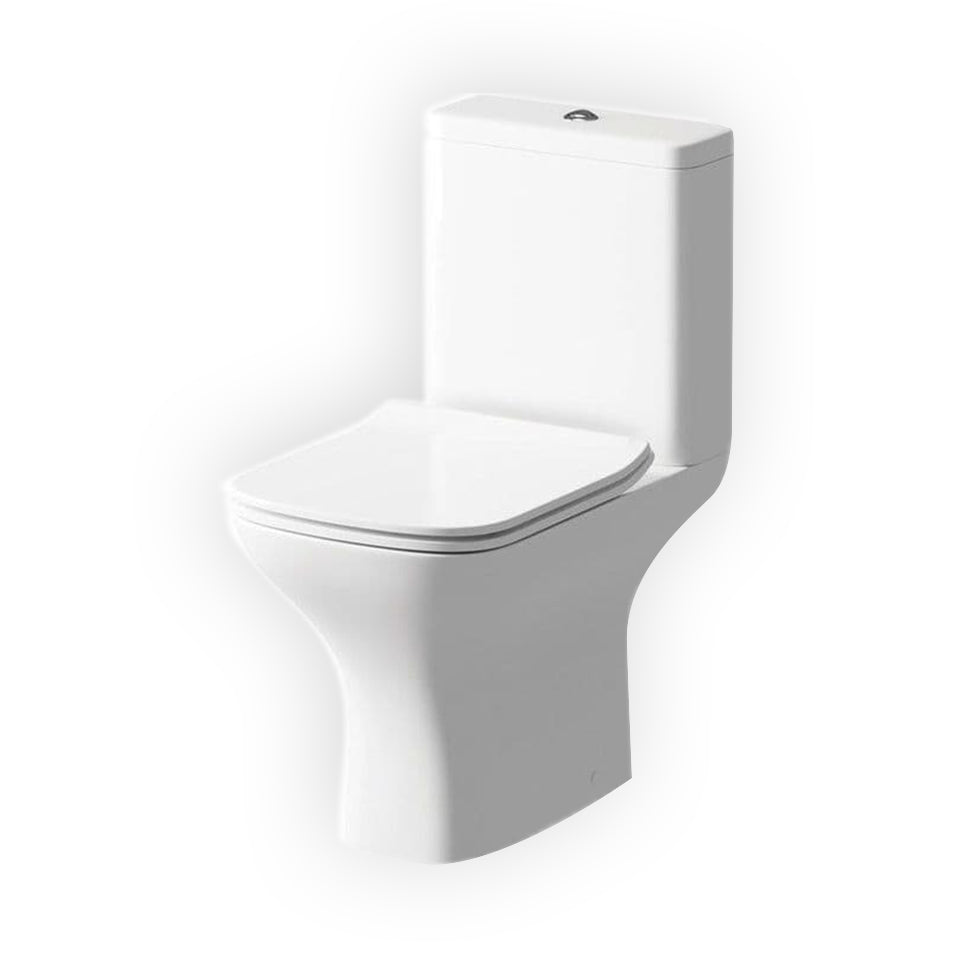
That is our guide on how to fit a bath, if this helped you out, share it with a friend or on your social media page. If you enjoyed this, why not read our post on how to fit a toilet.